With the addition of the Auxiliary IDs functionality to Frotcom, you will have the possibility to configure the RFID or iButton readers of your fleet to have behaviors other than merely the identification of the drivers.
In this first step, the Auxiliary IDs can be configured to allow drivers to associate routes to the vehicles without the need to contact the fleet manager - the only action to do is to read an ID that represents a route.
Configuration
To configure the Auxiliary IDs functionality, the user first must have the right permission to it:
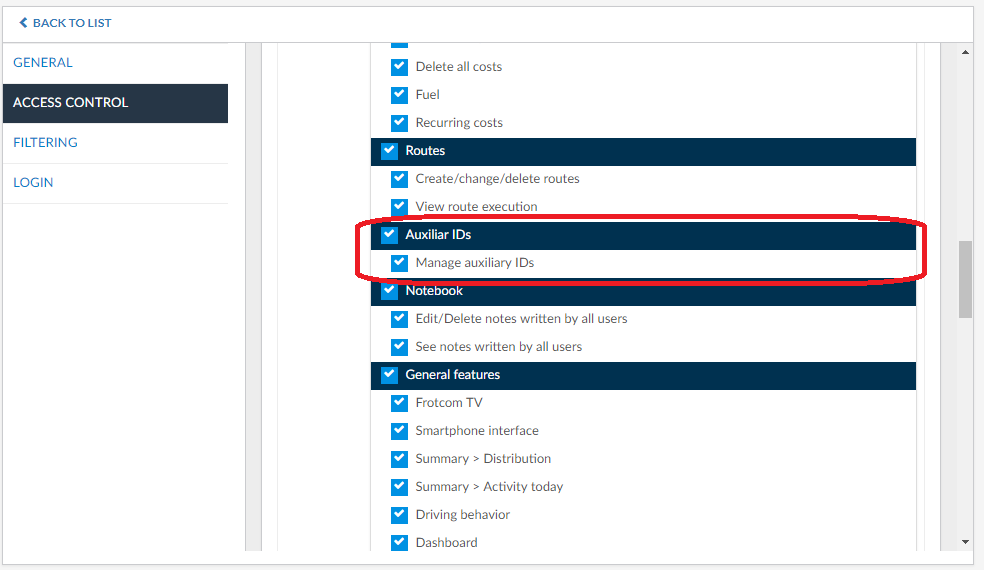
Now, in Administration > Accounts - Automation rules, you must enable the functionality in the Use Auxiliary ID associations section:
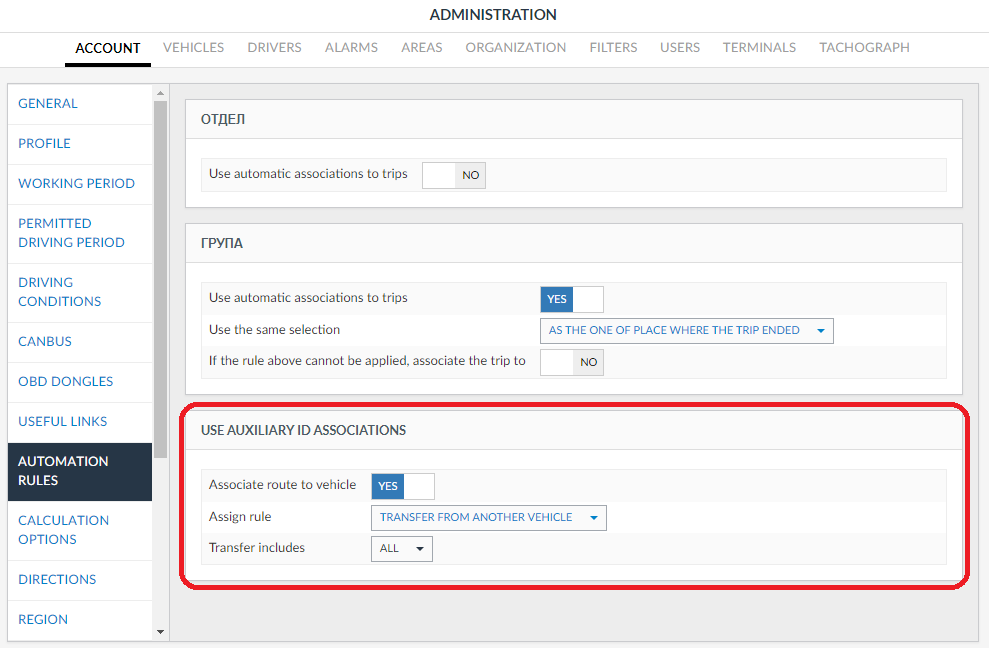
If you choose Associate route to a vehicle, a new option is available: Assign rule:
This selector has two options:
- Assign now: when the driver sends a route code to Frotcom, the route will be assigned to the vehicle, and the execution will start right away.
- Transfer from another vehicle: Frotcom will instead transfer the route from another vehicle that already has the route assigned to it, respecting the limits selected on Transfer includes.
If you choose Transfer from another vehicle, you must as well select the route statuses (one or more) that can be transferred:
- Active routes:
- Pending routes
- Abandoned routes
For both cases, the driver will receive the new assigned route in their terminal (WFM or NAV).
Now that you have the functionality active, you must configure the Routes that can be transferred by the drivers using an ID.
To do that, add the ID to the route in the Route details:
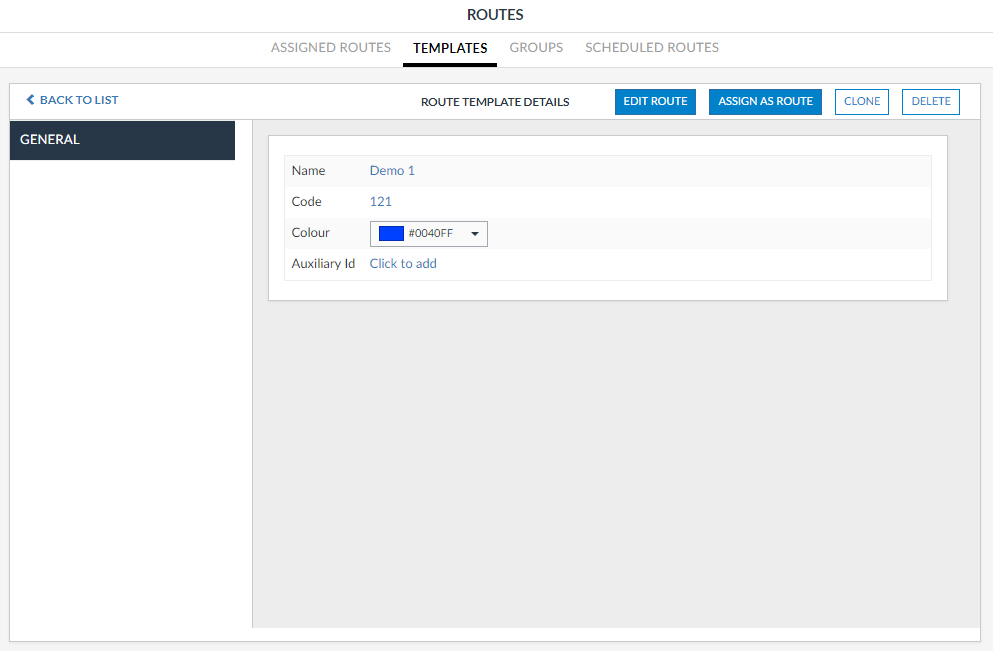
Note: This ID is unique, meaning that two or more routes cannot share the same ID.
With this configuration done, the functionality is ready to be used by the drivers.
You can have a report with all the IDs received by Frotcom in the Auxiliary IDs menu:
![]()
| Column | Description |
| Date | Date the ID was read |
| Vehicle | The vehicle that read the ID |
| Driver | The driver of the vehicle when the ID was read |
| Auxiliary ID | The ID |
| Entity type | The entity that is associated with the ID (in this first step, the only available entity is Route) |
| Entity ID | Unique identification of the entity associated with the ID (in the case of the routes, it's the Route ID) |
You can apply filters to all the columns. You can also print or export to an Excel file using the option in the Hamburger menu.